Top 10 Things You Need To Do When Plastering And Rendering – Amaroc - Render & Drylining Supplies
By A Mystery Man Writer
Description
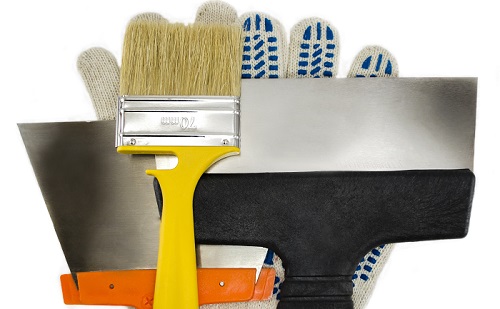
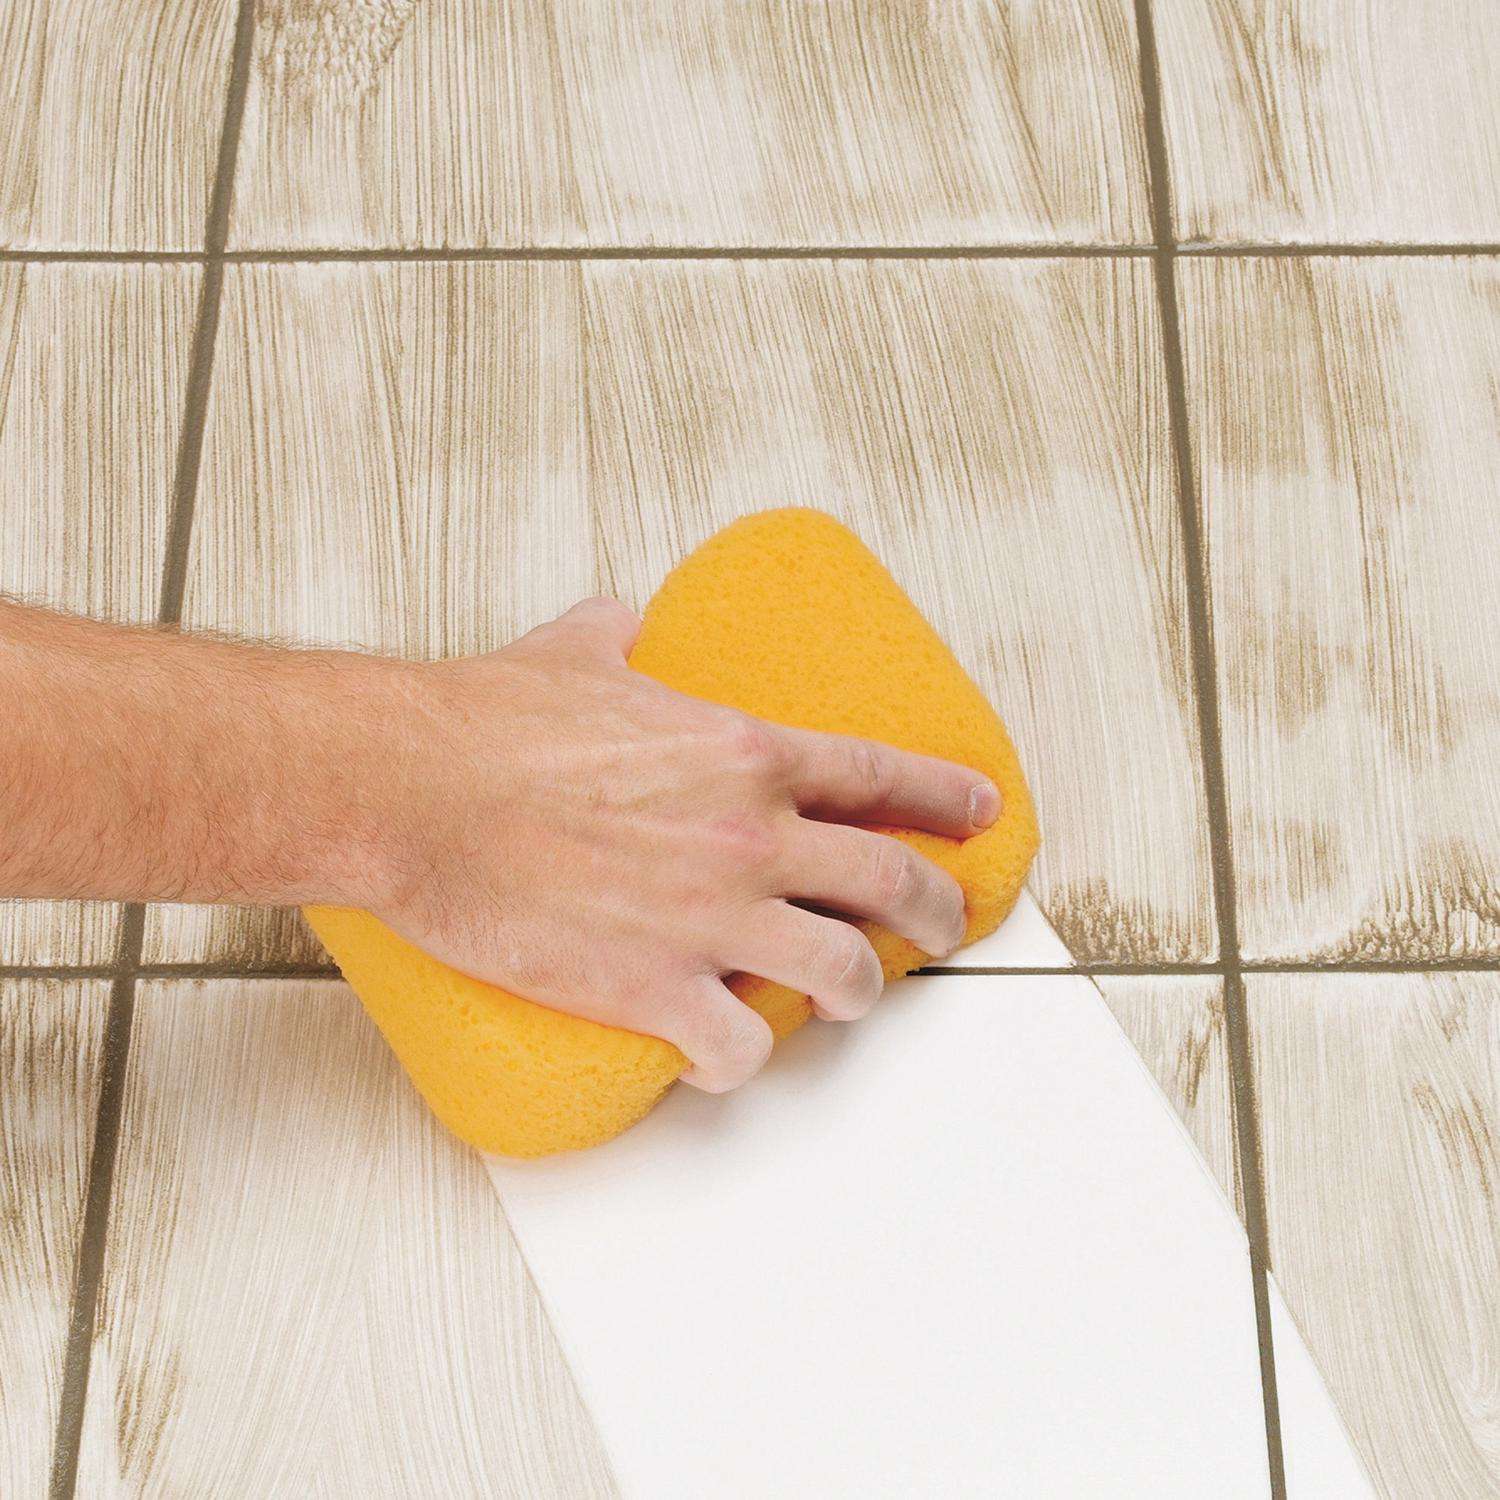
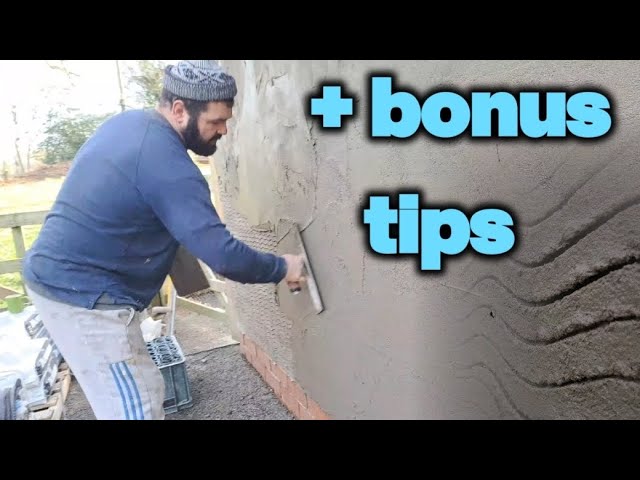
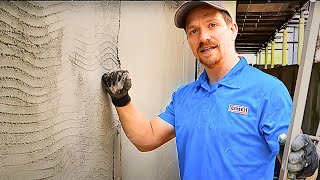
Let’s suppose that you have decided to start plastering and rendering. There are a few things that you need to do before starting such a project. You will find all of them here. Plaster walls have a bit of a mystique about them. Plaster has fallen out of favour as a material in recent years, which has made it something of a lost art. In their drywalling competition, skilled contractors are relatively hard to find, and they can essentially set their own pricing. With a little time and effort, you can save a lot of money on your plaster installation/patch job. You'll need the following 10 plastering tools to smooth out the process. Hammer It is a good idea for aspiring plasterers to keep a trusty hammer close by. Hammers with claws and drywall hammers are the most commonly used types. The two types of tools can be used to chip out chunks of plaster and to re-secure or remove problematic pieces of lath. In plastering, drywall hammers can be used to dimple high spots because they have hatchet-style ends and curved faces. Handsaw Generations of plasterers used wood lath. As a groundwork for plaster, thin, narrow strips of wood will need to be cut with a sharp handsaw. When installing doors or other retrofit work, it may also be useful for cutting sections of old plaster out. Spackle Knife Spackle knives may seem too small for large plaster jobs, but they serve an important purpose. Before repairing cracks and uneven surfaces, run a sturdy spackle knife across the area. You do this to knock down the high points or flakes of old plaster before you apply the new mud. This will give you a consistently smooth finish. Bucket The use of a five-gallon bucket for plasterwork may seem obvious, but it is crucial. When mixing plaster, you will mix it more than once. After a few jobs site-related bumps and bangs and cleanings of cheap, brittle buckets, they will crack. Additionally, plaster is very heavy, especially when wet and muddy. The best bucket to use is a sturdy one. Utility Knife The usefulness of a high-quality utility knife can't be understated. Plasterers use it to cut open bags of plaster mix, score existing walls, and cut patches from drywall sheets. Remember to always keep a sharp blade in your pocket when using a utility knife. Sharp blades are safer than dull or chipped blades because they are easier to use. Paddle Mixer Any mud job would not be complete without a paddle mixer. Mixing buckets of plaster is made easier and faster by paddle mixers that clamp into drill chucks. Dry plaster, water, and other aggregates are easily incorporated into their design. Paddle mixers help plasterers and DIYers break up clumps and adjust the consistency of their mix easily. Bucket Trowel The process of removing wet, soupy plaster from a deep 5-gallon bucket can be messy. For scooping out the mix, bucket trowels have wide surfaces and angled handles. Furthermore, they can be used to loosen dry mix during the mixing process as they can be run around the sides of the bucket. Hawk Plaster hawks are flat surfaces with a handle in the middle meant to hold wet plaster. Plasterers use it to evenly and cleanly put mud on a trowel. It might seem effortless for an experienced plasterer to butter and clean their trowel, but beginners may have trouble developing this flow at first. Trowel Plaster needs to be applied and smoothed with a good trowel. Beginners will not need many trowels, but professionals have many stage-specific trowels. You can start with a 12-inch trowel. By sanding the corners of your trowel, you will be able to break them in easily. Between finishes, there will be fewer trowel marks and lines left on the wall. Paint Brush During the final smoothing of your plaster job, you will need a thick, heavy-bristled 4-inch paintbrush. By dampening the surface of the wall, a clean trowel will glide smoothly across it, resulting in a more smooth finish. Using it can also help clean nooks and crannies by mixing paddles and trowels. Steps to render a wall Here are some helpful steps to successfully render a wall. Step 1: Survey the site It is important for a building to blend in with its surroundings. Pick the plaster that suits the surface's background and environment for best results. Choosing the right thickness and coatings can help achieve the best results. You should also pay attention to the curing stage to avoid any damage in the future. Step 2: Prep the surface for rendering As soon as you've decided on the materials and the type of render you'll be using, prepare the surface of your wall. Make sure the area is free of dirt, dust, oil, grease, paint, silicone, and other friable materials. Invest in a dash coat or a mixture of cement and water if you are working with a dense surface with low absorption, such as concrete or metal windows. Plaster needs something to hold on to to strengthen its grip. Soaking down highly absorbent surfaces, such as sandstone, will prevent water loss. Step 3: Mix your render Depending on your provider's instructions, remove the type of render finish you want and mix to the appropriate ratio. Aim for accuracy by using specific quantities instead of mixing by eye. To maintain its quality, mix enough to be used up within 30 minutes. As the mixture oxidizes, its consistency will change. Avoid complications by mixing your renders on a hard, flat surface. Step 4: Apply the render Apply the first layer with a steel float (plasterers trowel). Using a straight edge, smooth everything once you have reached the desired thickness. Wait between 3 and 7 days between coats if you are applying multiple layers. Step 5: Finishing the render Last but not least in the process are the decorative finishes. You will need specific tools and materials depending on the chosen finish. Amaroc offers the best brands on the market and a wide range of choices for all your rendering needs. We will advise you on which product is ideal for the job at hand with the help of our expert sales team. It does not matter how big or small your project is, we'll get you the best materials available to complete it.

How To Render A Wall COMPLETE BEGINNERS GUIDEFULL PROCESS!
Rendering a wall, a brief introduction

How To Render - Technique Tips on Best Rendering

Amaroc External Render, External Wall Insulation & Drylining Supplies – Amaroc - Render & Drylining Supplies
How To Render A Wall FOR BEGINNERS (Full Process REVEALED)
Weber Renders Brand – Amaroc - Render & Drylining Supplies

Top 10 Things You Need To Do When Plastering And Rendering – Amaroc - Render & Drylining Supplies

How To Render A Wall COMPLETE BEGINNERS GUIDEFULL PROCESS!

Beginners Guide To Rendering…Every STAGE Revealed
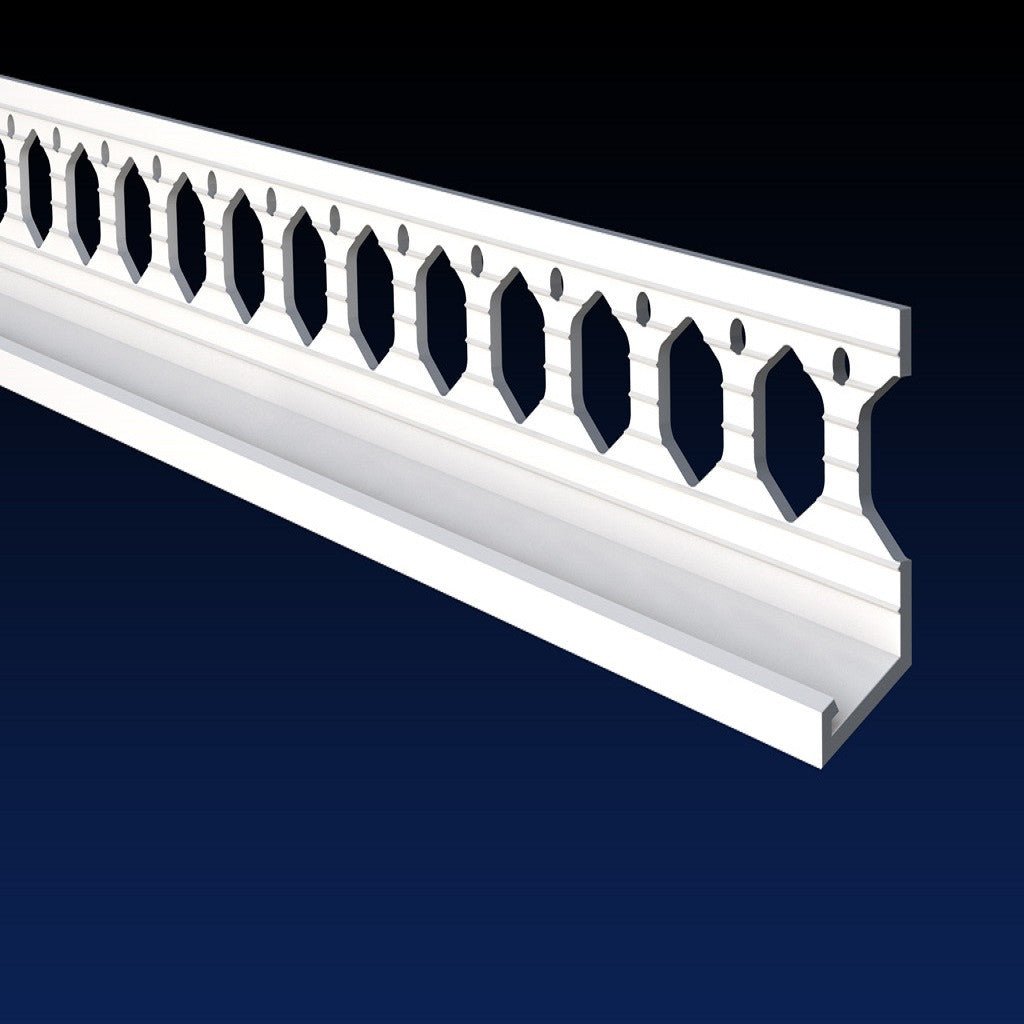
Render Beads – Amaroc - Render & Drylining Supplies

WP external insulated rendering, plastering and dry lining

How To Render A Wall COMPLETE BEGINNERS GUIDEFULL PROCESS!
from
per adult (price varies by group size)